What’s New in Kubernetes v1.24?
Kubernetes v1. 24 is almost here.
Read Now
No items found.
2022-04-22

Every business needs to pay special attention to security matters. Secrets management is one of the leading security tasks. In this tutorial, we will introduce you to the basics of using the Hashicorp Vault, a powerful tool for securing accessing secrets.
What are the secrets that we mentioned above? It may be API and database credentials, passwords, certificates, SSH keys, etc. Vault is used to provide the secure storing of secrets and control the access to the secrets. The tool allows flexible setup and various security conditions manipulation. The main benefit of using Vault is to manage secrets securely in a central location which prevents secret sprawl. A secondary benefit is for Governance that includes policies, audit logs, trails etc.
There are several Vault’s features that make it so popular, including:
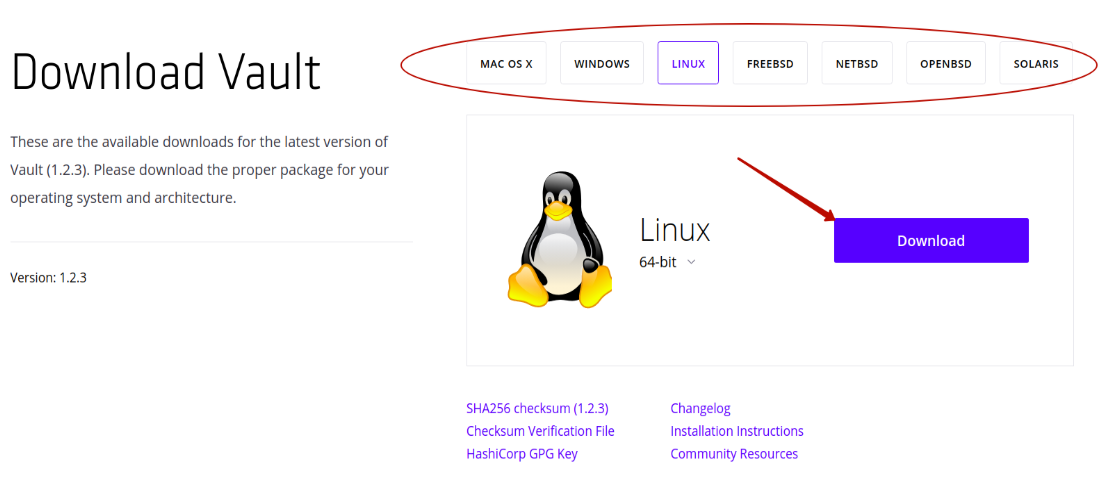
It is possible to compile Vault from source. Nevertheless, the standard installation path is the follows:

To use Vault, you should start the server. There are two types of servers: development and production. It is easier to start the development server. It is not as safe as a production server, but it can be used to explore Vault and make some prototyping.
To set up the development server, perform the following steps:


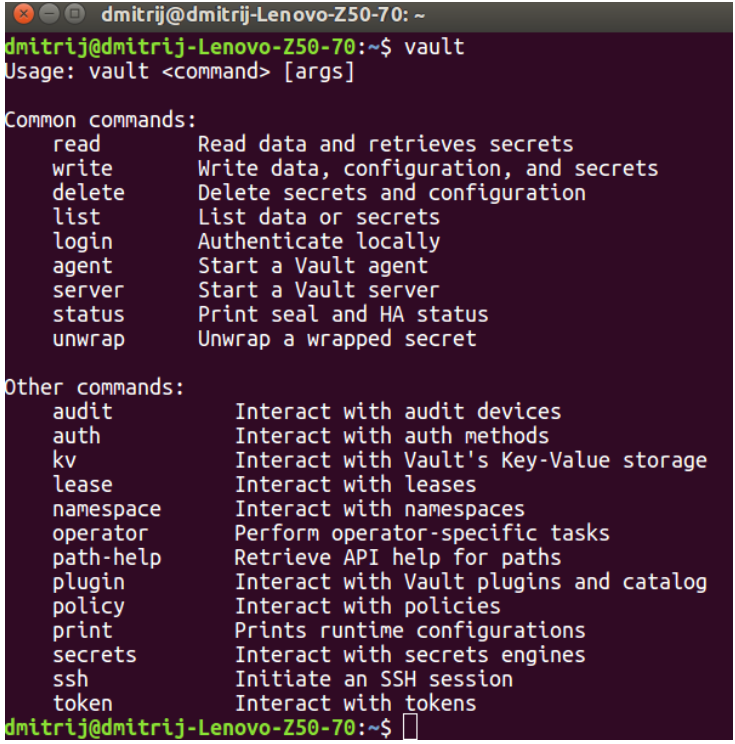
There are several methods to manage secrets in Vault. It has HTTP API to interact with the system programmatically. Also, it has a web-based GUI. The third major option is to use a command-line interface. In this chapter, we are going to show how to create, view, and delete secrets with the help of CLI.
First, let’s create a secret. We need to use the vault kv put command to do this. This command expects to take a path where the secret should be stored internally in the system. The second argument to the command is the key/value pair of the secret. For example, below we create the secret test_secret_key with the test_secret_value, and store it by the secret/test_secret path:

The desired output:
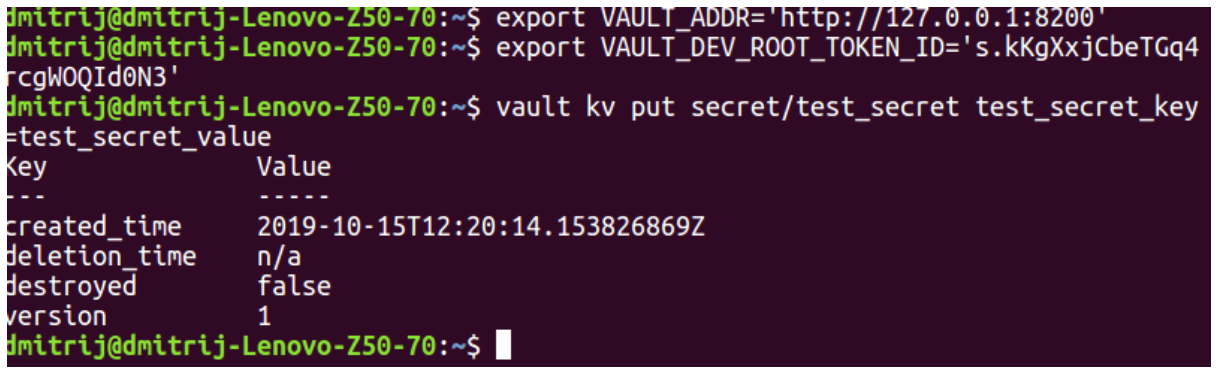
Note, that you need to export VAULT_ADDR and VAULT_DEV_ROOT_TOKEN_ID in the same session from which you want to create a secret. Otherwise, there will be an error.
It is more like a sandbox to send secrets to Vault by direct typing them in the CLI. The vault kv put command can take inputs as files or by reading STDIN. The more reliable way is to use files.
Now let’s view the stored secret. It is as simple as calling the vault kv get command and specifying the path to the secret:

Here is the output:

It is also possible to tell Vault to return only the value, without the key. The vault kv get command is even capable of returning the output in the form of JSON file. This is convenient when you need to use the output for some automated processing later.
Eventually, we may need to delete the existing secret manually. Here is how we can do this:

The output is short:

In the previous chapter, we have shown how to perform basic operations (create, get, delete) with secrets using the command line interface. You may remember that Vault also has a GUI. You can do the same manipulations (and even more sophisticated) there.
To access Vault web UI, you should start the server first. After starting the server, you will see the URL to the web UI in the output:

Follow this URL in your web browser. You will be asked to sign in to Vault:
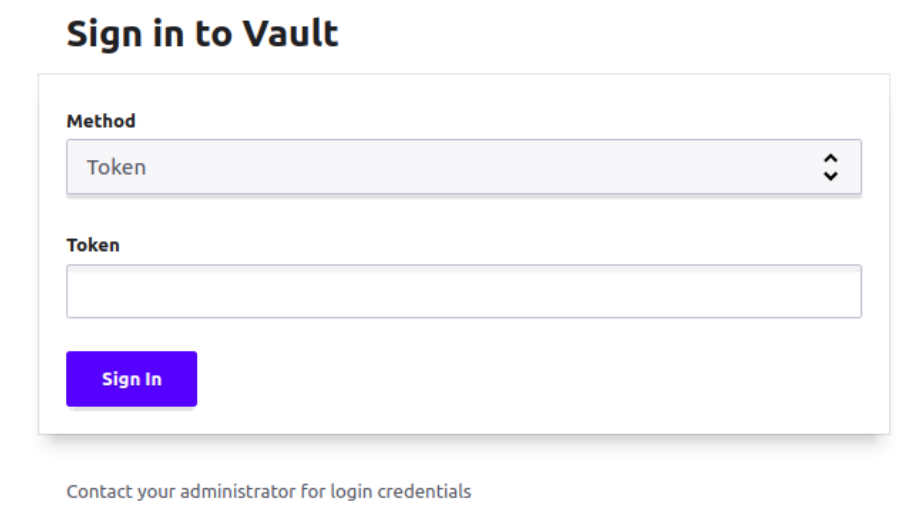
You can use the root token to authenticate to the UI:

You will see the following main page of the Vault Web UI:

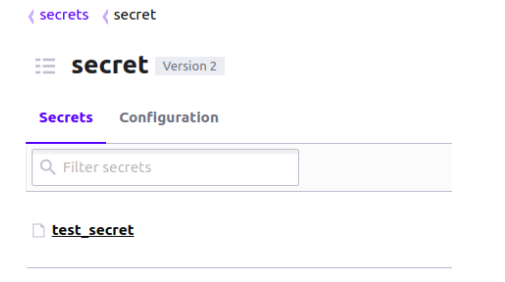
If you go into the secret folder, you will see our secret which we have created in the previous chapter (test_secret):
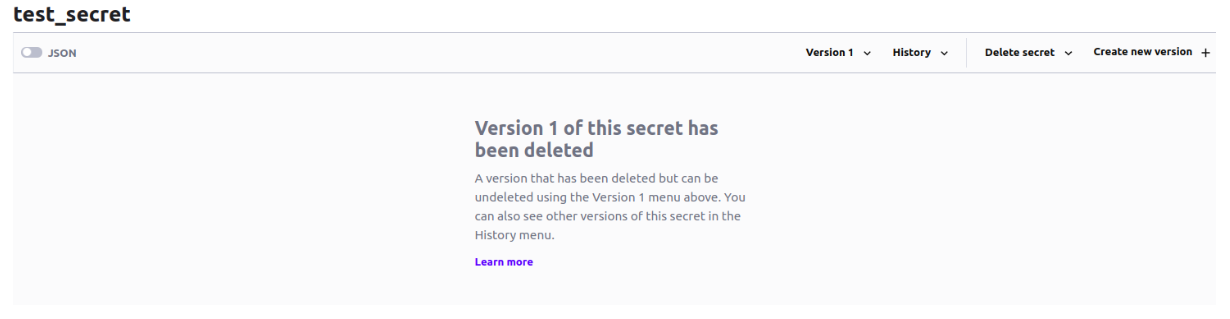
Nevertheless, if you click on the secret, you will see the message saying that it was deleted:
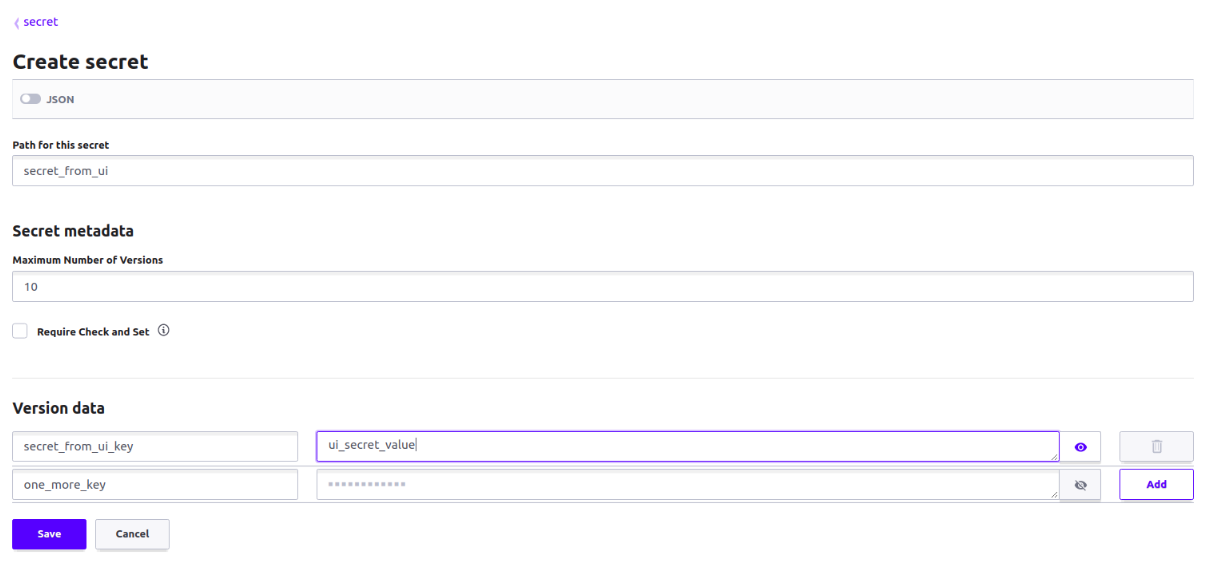
Let’s go back into the secret folder and click on the Create secret button:

This is how to create a secret from the UI. On the next page, you will be asked about the path for the secret (we have entered secret_from_ui), secret metadata (we left this default), and version data. In the version data section, we clicked on the Add button from the right side to add one more key/value pair. After everything here is filled, you can press the Save button. This will create the secret.
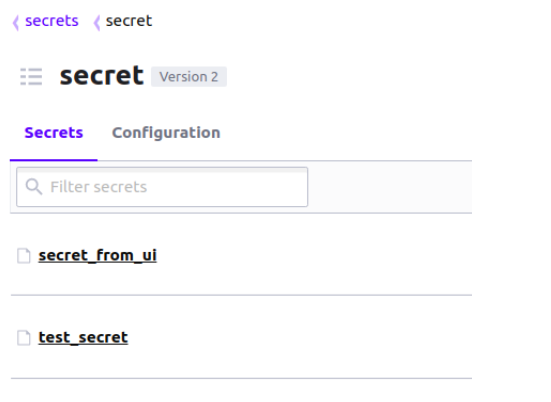
Now we have the secret_from_ui secret in the secret folder as well:
If we click on the name of the secret, we will see the key/value pairs. After pressing the eye icon, the value for the corresponding key will be displayed:
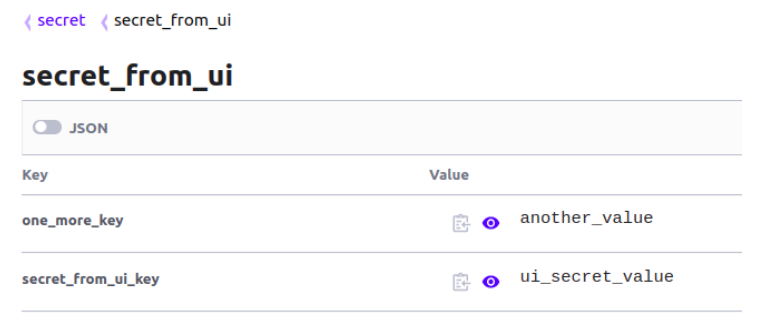
The panel for managing the secret is located in the right part of the window. You can delete the secret, copy it, create a new version, view history, etc.

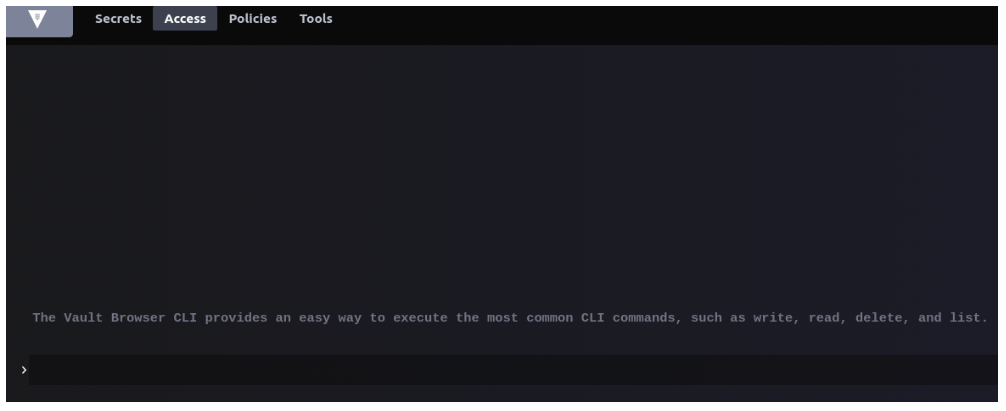
There is the control panel at the top of the page. You can manage via UI not only secrets, but also the access, policies, and tools. Each menu has its sub-menu. For example, here is the Access tab:

On the right side of the window, you can press the middle button:

This will open the CLI directly in your browser. If you need to execute some commands from the CLI, you can do it directly in your browser.
As we can see, Vault’s web UI provides capabilities for performing the same thing as via CLI or API. What interface you should use entirely depends on the task you need to accomplish. For example, if you need to create and store a few secrets only once, it is better to use web UI. But if you need to work with Vault permanently and in an automated manner, it is obvious that you should use other options (probably, HTTP API).
In this tutorial, we had a quick look at Vault. It is a modern system for managing secrets (passwords, credentials, keys, etc.). We have looked at the motivation for using Vault and its core features. Then, we described how to install it and set up a development server. After having the server running, we demonstrated basic Kubernetes operations with secrets in Vault: creation, getting, and deletion of the secret. We have used the command-line interface for this. At the same time, we made an overview of the Vault’s web-based user interface. After reading this material, you should be able to start using basic Vault’s features.

Rafay Systems has been recognized as a Representative Vendor in the 2022 Gartner® Market Guide for Container Management Rafay Systems has been recognized as a Representative Vendor in the 2022 Gartner® Market Guide for Container Management. * We believe that being included in this market guide report underscores that Rafay’s global customer base and Infrastructure and Operations (I&O) teams recognize value in the company’s unique approach for operating Kubernetes infrastructure and modern, containerized applications.
Read Now

Many people already have eyes on the upcoming Kubernetes v1. 24, which is scheduled for an official rollout on Tuesday, April 19, 2022.
Read Now